
Pickleball
The Step-by-Step Guide: Building Your Own Pickleball Court
Aug
If you’re passionate about playing pickleball, you know it’s the ultimate game for fun and entertainment. But unfortunately, finding a court or a place to play can be quite challenging – especially if you live in a rural area. That’s why we’ve come up with this DIY guide on how to build your very own pickleball court! With just a few supplies and a bit of know-how, you can easily construct your own pickleball court in no time.
This guide will walk you through all the steps to building your DIY pickleball court – from choosing the right materials to assembling everything together. We’ll show you how to craft a durable, attractive, and affordable court that will provide hours of enjoyment to you, your family, and your friends.
Important Considerations for Your Pickleball Court:
- Size: When it comes to setting up your pickleball court, size truly does matter. The court itself should be 44 feet by 20 feet as per the regulation standards. But don’t forget, you also need some extra wiggle room for players to move around and serve without any hindrance. So, USA Pickleball’s recommendation? Aim for a total area around 60 by 30 feet. Always double-check you’ve got this space before you dive into the construction process.
- Sun Exposure: When you’re picking a spot for your game, don’t forget to think about where the sun’s going to be. Trust me, you don’t want to be squinting against the sunlight during the best part of the game. So, just try to set things up so that the sun isn’t shining right in your eyes when you’re most likely to be playing.
- Surface: When it comes to setting up your pickleball court, keep in mind that the surface you choose can make or break your game. A hard, flat surface like concrete or asphalt is your best bet. Trust me, you’ll want to avoid grass or dirt. They’re not only slippery but also uneven and can really up your injury risk.
Choose the Right Surface
The first step to any good pickle-ball court is selecting the right construction material. You want a non-slip, durable material that will be able to stand up against the weather and frequent use. Concrete or asphalt are both great materials for your DIY court.
You could also consider using a modular sports tile system. It provides excellent traction and reduces stress on joints. These tiles are weather-resistant and available in various colors.
Tools
Besides materials, also ensure you have the necessary tools:
- Two tape measures (one 50-ft. and one 30-ft.)
- Shovel
- Level
- Tamper
- Wheelbarrow
- Plate compactor (if needed)
- Power drill (for net installation, if needed)
Before constructing your pickleball court, ensure the availability of all tools and materials.
It’s crucial to have a detailed plan, including court dimensions and location, along with any extras you wish to incorporate.
Mark Off the Court
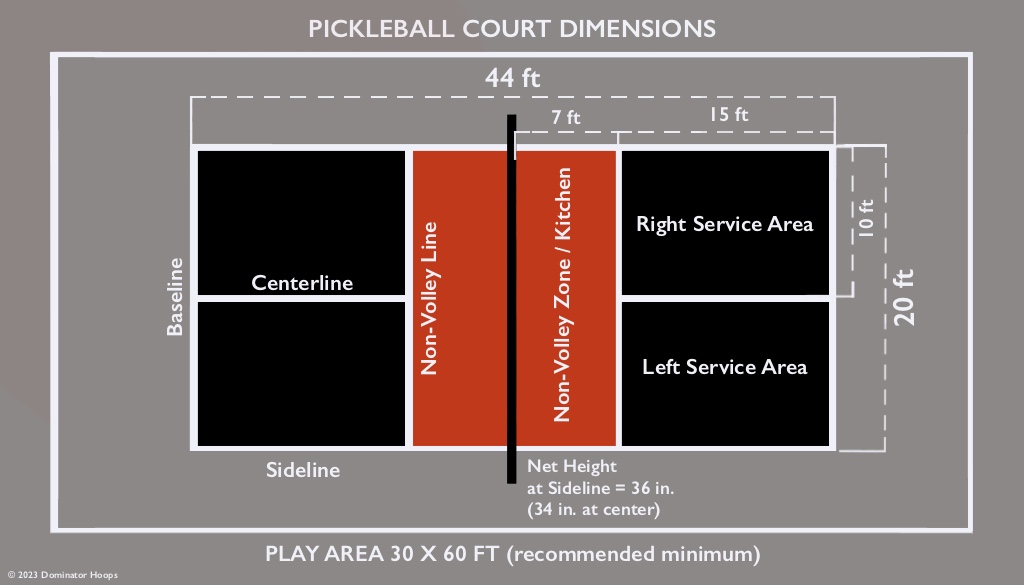
(Image of court dimensions here)
Now that you’ve picked your surface, it’s time to mark off the court. You want to make sure you have a 20 foot width by 44 foot length area for the court. To mark this off, use either chalk or brightly colored tape. Make sure you leave plenty of room around the perimeter of the court as well!
- Look for a flat and even space in your backyard that is at least 60 feet by 30 feet, as this is the recommended size for the whole arrangement according to USA Pickleball guidelines.
- Measure and mark the court dimensions of 20 feet by 44 feet using chalk or tape. A measuring tape can be used for accuracy.
- Begin with the sidelines. Measure and mark a line that’s 22 feet from the outer edge of the court on each of its sides.
- Next up, mark the baselines. You’ll need to measure and mark a line 20 feet from the peripheral edge of the court at both ends.
- Measure and mark a line 15 feet from the back baseline on each side to mark the service lines.
- Lastly, mark the centerline by measuring and marking a line 22 feet from the outer edge of the court, effectively dividing the court into two equal halves.
Keep in mind that the court lines should be 2 inches wide and easily seen. To make the lines more permanent, you can use outdoor court paint and a roller or paintbrush.
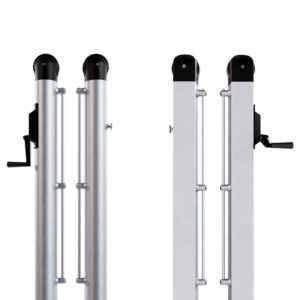
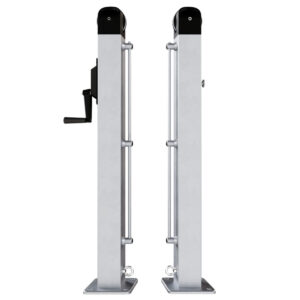
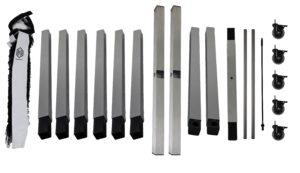
Install the Posts
When constructing your own net system, the choice of posts is paramount. Professional-grade, pre-made posts provide an excellent, hassle-free option that guarantees durability. However, for the DIY enthusiasts among you, creating your own posts can be an engaging and rewarding process. Materials like metal or PVC offer robustness and longevity, ensuring your net system can withstand the test of time. Remember, it is essential to embed these posts at least 3 feet into the ground. This depth is essential to provide stability and prevent the posts from toppling under the weight of the net or due to weather conditions.

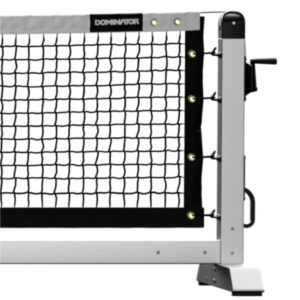
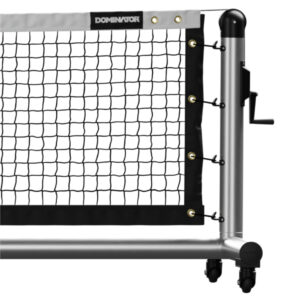
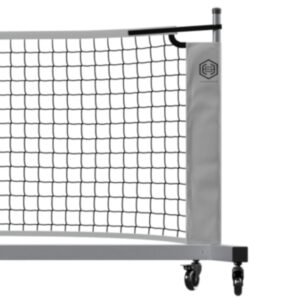
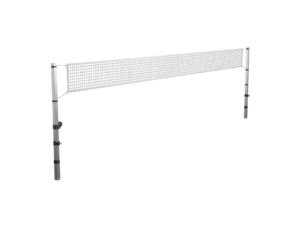
Choosing and Setting Up the Net
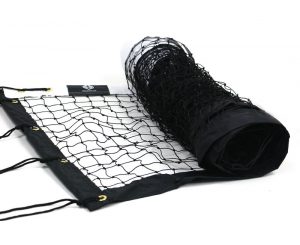
The next step is finding the perfect net for your court. Make sure you look for one that has adjustable heights and durable material, as it should last against all sorts of weather conditions.
When choosing a net, look for a durable one with a center strap to maintain the correct height in the middle. The top edge of the net should be adorned with a 2-inch wide white binding over its full length. The net posts should be set 12 feet apart and 1 foot outside each sideline, giving you an overall width of 22 feet.
Once you’ve found the right one, simply place it in the center of the court, following manufacturer’s instructions.
Finalize the Lines
Now that your court has a surface, dimensions, and a net, your next step is drawing the lines. Pickleball has a unique court layout with a non-volley zone or ‘kitchen’.
Lines must be 2 inches wide and of a contrasting color to the court. The centerline, which bisects the ‘kitchen’, should be marked with small dashed lines to reduce confusion during play. Remember, precision is the key here, so take your time!
Use a tape measure, chalk, or paint to mark your lines of 7 feet from the net on either side, creating the ‘kitchen’. Then, mark the service courts which should each be 10 feet from the kitchen line and run to the baseline.
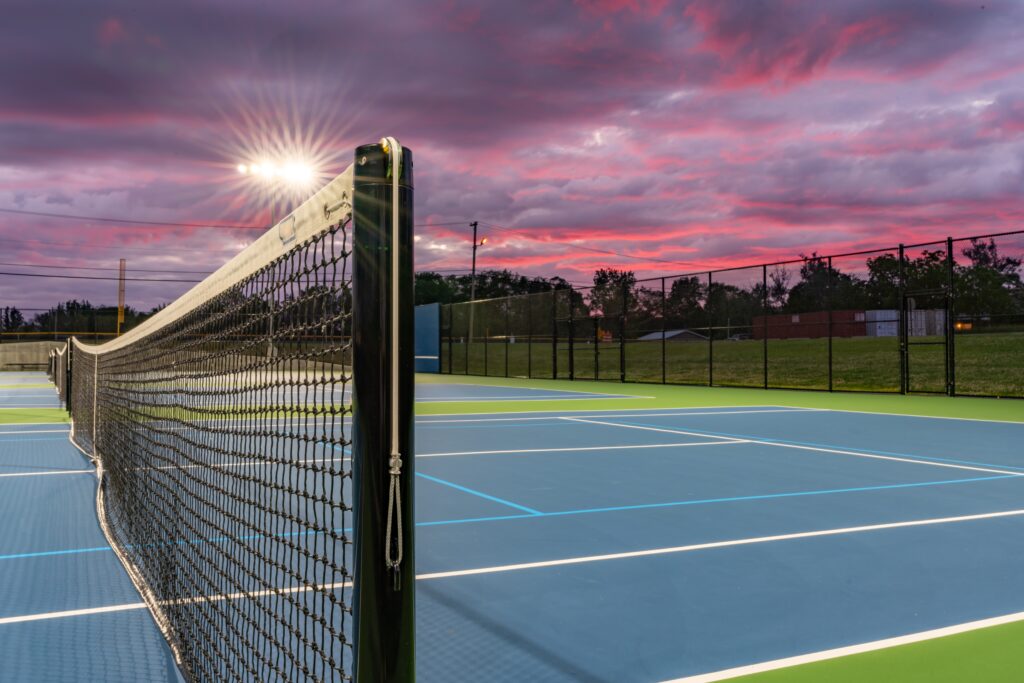
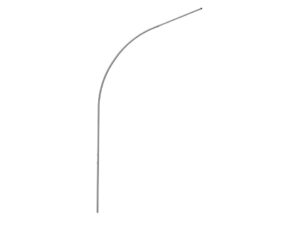
Lighting Considerations
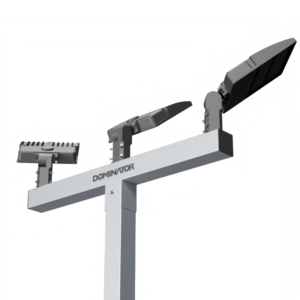
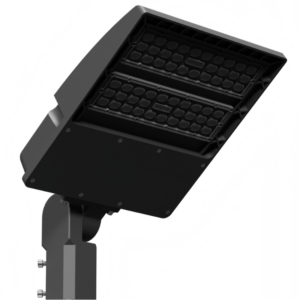
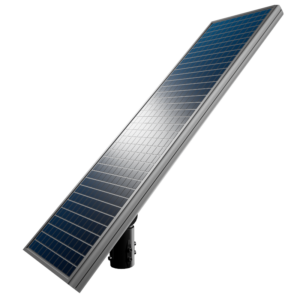
If you’re an avid player and planning to play beyond daylight hours, consider installing outdoor sports lighting. You want your matches to be well lit to avoid mishaps or mistaken out-of-bounds calls.
For lighting, aim for an average of 30 to 50 foot-candles. LED lights are highly recommended due to their efficiency and long lifespan. Consider positioning the lights at least 20 feet above the ground to reduce shadows on the court. Make sure to check with local authorities about any lighting restrictions.
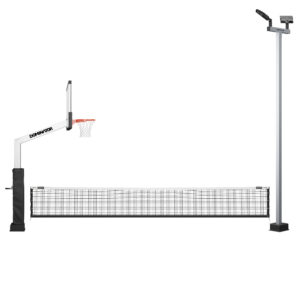
Keeping the Score
For those ultra-competitive pickleball marathons, you might want to consider installing a scoreboard. This can be as simple as a chalkboard or whiteboard, or as high-tech as an electronic scoreboard.
If you’re opting for a simpler whiteboard or chalkboard, consider setting it up in a shaded or protected area to prevent it from getting washed out in the rain.
If you opt for an electronic scoreboard, make sure it’s weatherproof and easily visible from both ends of the court.
It’s your court, your rules.
Equipment
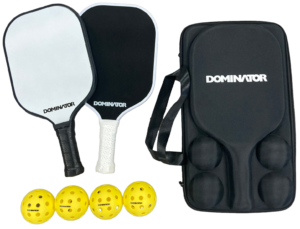
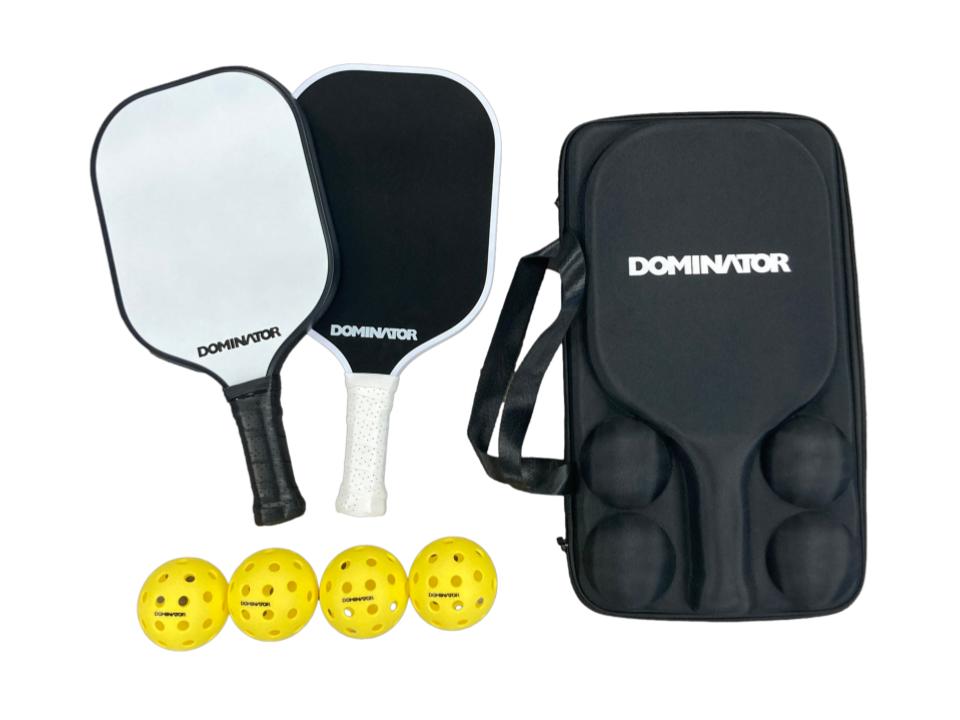
As for the equipment, investing in good quality pickleball paddles can make a world of difference to your game. Today, paddles come in a variety of materials with different weights and grip sizes, so you can find one that fits your playing style. Don’t forget about the balls! Pickleball balls are designed with holes and are specific for outdoor or indoor play. Make sure you choose the right one for your court.
Safety Measures
Safety is paramount when playing any sport, and pickleball is no exception.
- Protective Padding: Not a must-have, but seriously, consider padding on the net posts. It’ll save you from some nasty bumps and bruises when you’re getting too into the game!
- Make sure your court is far away from any potential hazards like trees or power lines.
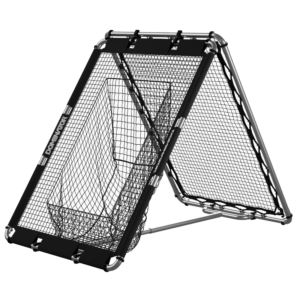
- You may also want to consider installing some fencing or a net around your court to prevent balls from flying out and the occasional stray from walking in.
Customization
Finally, remember that this is YOUR court. Feel free to add personal touches. From choosing your preferred color scheme to adding seating for spectators, a shade structure, or even a water cooler station for those hot summer days, the possibilities are endless!
Building a DIY pickleball court is not only a fun project, but it also provides a great place to get some exercise, enjoy the outdoors, and have some friendly competition with friends and family.
Maintenance
Once your pickleball court is ready, your job isn’t quite over. Regular maintenance is needed to keep your court in tip-top shape. Sweep or blow off leaves, dirt, or debris from the court surface to prevent any slip hazards or damage. If you’ve chosen a hard surface court like asphalt or concrete, consider resealing or repainting the surface every few years to keep it fresh and vibrant.
Get Ready to play!
With these simple steps, you’ll be able to whip up a regulation-sized pickleball court right in your own backyard. All it takes is a smidge of effort and a handful of basic materials and you’ll have yourself a fun and entertaining activity to enjoy with your family and friends.
Now that you know how to build a court, explore the cost of building a pickleball court to make informed decisions and ensure that you have all the necessary equipment.
With all these steps complete, your Do-It-Yourself pickleball court is ready! So gather your paddles, round up your friends, and let the games begin! But remember, the most important rule in pickleball is to have fun. Because if you’re not having fun, you’re definitely doing it wrong.