


Basketball
DIY Basketball Court: How to Build a Backyard Basketball Court
Aug
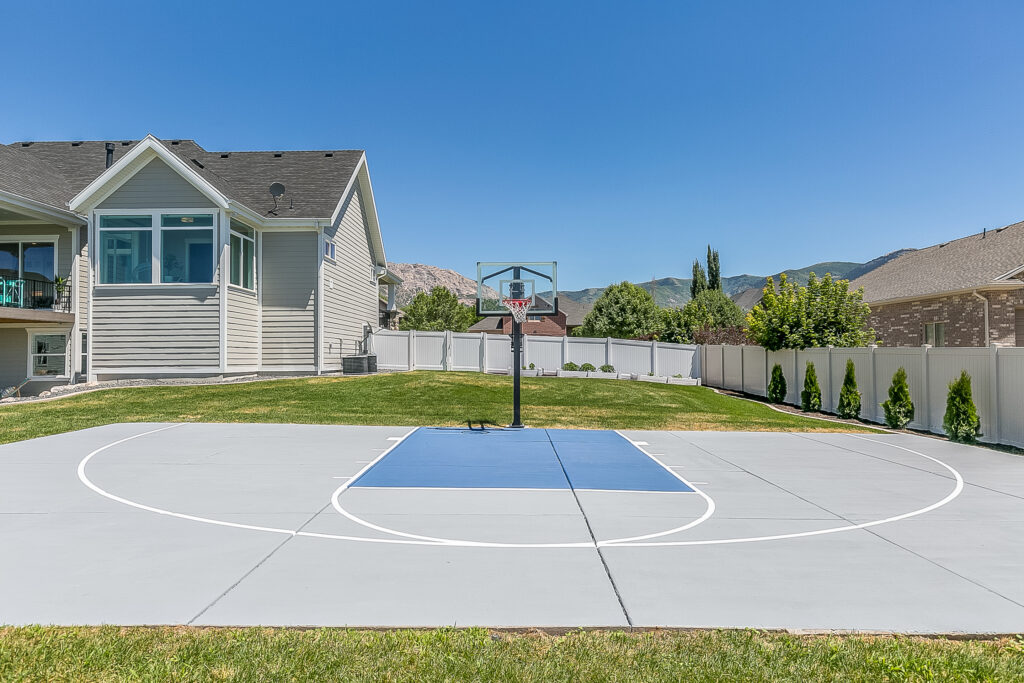
A backyard basketball court has many benefits. For starters, it provides an opportunity for hours of outdoor exercise and is more convenient than driving to your local gym. Plus, unlike a pool, a basketball court is cheap and easy to maintain. It can also add resale value to your home.
But perhaps the biggest benefit of adding a basketball court to your backyard is that your court will attract friends and family over for a pickup game and a cold drink afterward. It can serve as an excellent centerpiece for any BBQ or party.
A DIY basketball court is easy to create by following six straightforward steps. Here we’ll walk you through how to build a basketball court so you’ll be an expert and ready to do it yourself.
Step 1: Planning and Preparing Your Backyard Basketball Court
Start by planning your court and deciding where you want it. You will need a large open space free from trees, rocks, or other landscaping features. Once you have a spot chosen, reach out to the local building and inspection organization to obtain the proper permit—even if your home is far removed from other buildings.
Once you have a permit, you can complete the planning stage! Measure out your basketball court with precision. A regulation-sized basketball court is 94 feet by 50 feet, but if you don’t have that amount of free space in your backyard, you can opt for a half-court, which is 47 feet by 50 feet. If you want to build an even smaller court, go for it! It’s your space, so design it with your preferences in mind.
Step 2: Gathering Materials and Equipment
Once your court is measured and marked, it’s time to gather the materials and tools you’ll need. Start by choosing what type of court surface you want.
While you can make your court with asphalt or modular tiles, we highly recommend concrete. Pouring asphalt is very difficult and dangerous to do on your own, and modular tiles aren’t as durable as concrete.
You’ll need to buy your concrete early so it’s ready to pour when the time comes.
You’ll also need:
- Surface paint to paint the lines of the court
- Stencils to ensure the lines are straight
- The perfect basketball hoop
Step 3: Constructing Your Backyard Basketball Court
When you have all the equipment ready, it’s time to build. You’ll need to:
- Clear the area—If you have trees and large rocks, you may need to rent some heavy equipment, like an excavator.
- Make sure the area is level—Once you’ve cleared the space, use levels and string to ensure the area is flat. Don’t worry if it’s not perfectly level, however, as a one- or two-degree slope will keep water from pooling on your finished court.
- Add your basketball hoop—Dig a deep hole for the pole, then fill it with concrete. You will need to wait until it hardens and dries to finish the rest of the court.
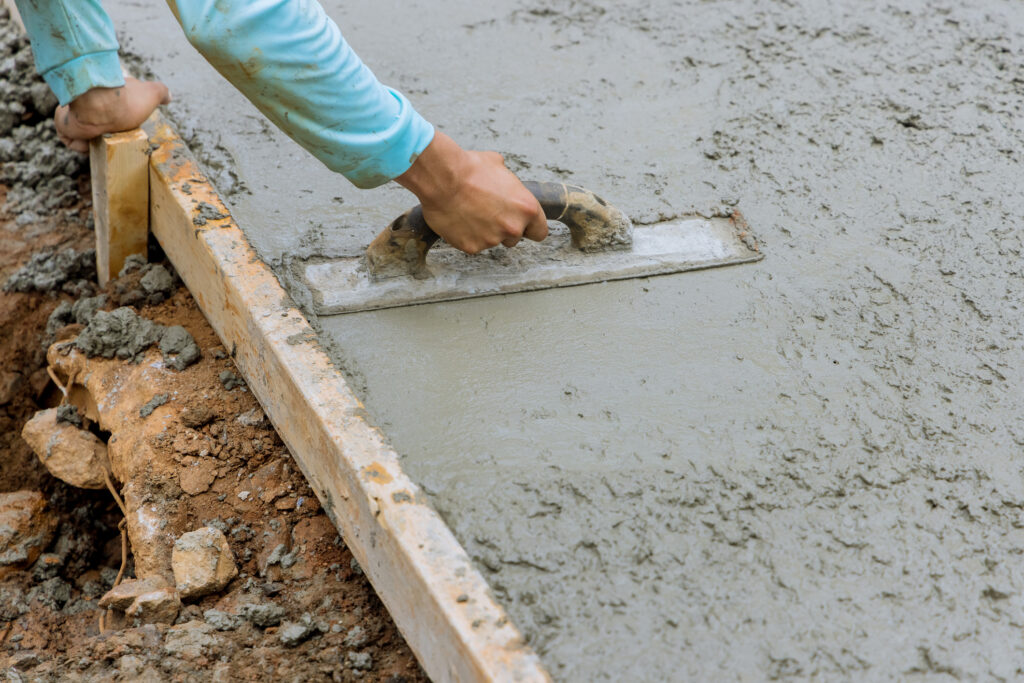
- Create the surface of the court—When it’s time to pour the surface, add gravel onto the court area, then pour your concrete on top. The concrete will need to be about four inches thick. Take the time to smooth out the surface while it’s wet, so your finished court won’t have any unwanted dimples or creases.
Let it dry—The concrete may take up to two full days to dry, so protect and check on it regularly. If someone steps on the wet cement or if leaves, twigs, or other debris fall in while it’s drying, the marks could be permanent.
You can also consider the option of finding an installer to help.
Step 4: Painting and Outlining the Court
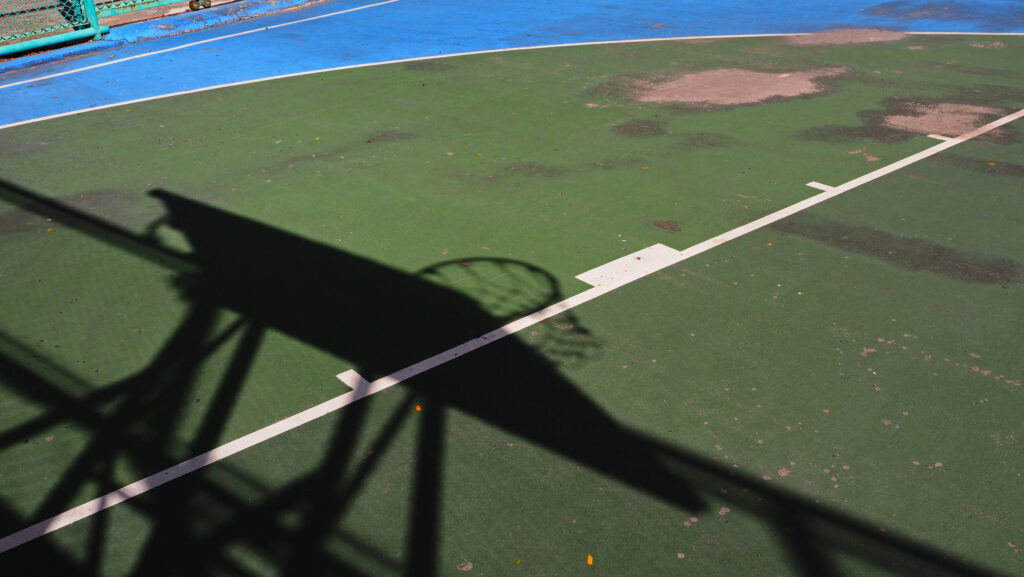
Once the court has dried, it’s almost ready to play on! You just need to paint the lines. This is where you can express your creativity. You could paint your entire court or just the lines but choose colors that are easy to see and differentiate.
Make sure you use a stencil and take your time. If you rush and paint a crooked line now, you might find the imperfection distracting every time you play ball later on.
Step 5: Adding Optional Features to Enhance Your Court
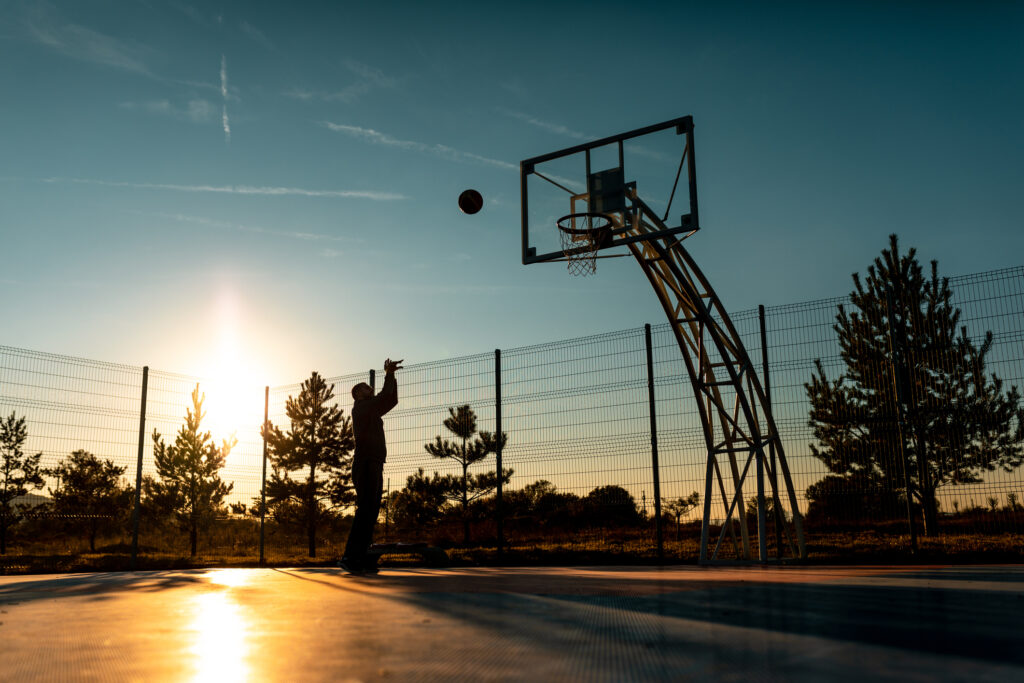
The paint has dried, and you’ve played your first basketball game on your new court. Now you can customize it even more by adding some convenient features. If you’re the type of person who enjoys playing basketball in the evening, consider installing outdoor lighting.
You can prevent the ball from escaping by adding a fence and provide a place for spectators to sit with benches.
Step 6: Taking Care of the Court Long-Term
Even after you’ve finished your court, you’ll want to make sure it stays in the best condition possible. Start by sealing your concrete. This fills the pores on the surface of your court and prevents cracking or long-term water damage.
You’ll also want to protect your basketball court by keeping it clean! Regularly sweep the leaves and dirt off your court and rinse it off with a hose after particularly bad weather. The effort you make to keep your court clean will protect it and make it last for many years.
Create the DIY Basketball Court of Your Dreams with Dominator
With a little strategy and a lot of hard work, you can build your own basketball court. If you’ve ever dreamed about having a home court, now’s the time to start.
When you’re ready to shop for the best supplies, Dominator is the perfect place to find your basketball hoop and outdoor court lighting. Check out Dominator’s basketball equipment to help you get started on your DIY basketball court.