Basketball
How to Install an In-Ground Basketball Hoop: Your Ultimate Guide

Nov
Have you always dreamed of having your own basketball hoop? The idea of being able to shoot hoops any time of day is exhilarating, so what’s stopping you?
A lot of people are held back by the daunting task of installing an in-ground hoop. Paying a professional to do it could get pricey, but you worry that trying to do it yourself might be a little over your pay grade.
There’s no better way to conquer fear than to arm yourself with knowledge, so continue reading to learn exactly how to install an in-ground basketball hoop. Follow our easy step-by-step guide, and you’ll be days away from making that dream come true.
How to Install a Basketball Hoop at Home in 15 Easy Steps
We’re confident that if you follow the steps below, you’ll have your new basketball hoop installed without a problem. First—one word of advice—it can’t hurt to have a few friends on hand. While it’s easy to follow our instructions, and Dominator hoops are the easiest to install in the industry, things will go smoothly with a few helpers.
1. Take Care of Permits
You want to enjoy your new in-ground basketball hoop hassle-free. So, the best way to start is by making sure you’ve got the all-clear from your HOA if you have one.
Contact your local utility companies and make sure the spot you’ve picked to install your basketball hoop doesn’t interfere with any buried cables, water lines, gas lines, or any other utilities.
Special Tip: You can call 811 to find out what (if any) utilities are belowground.
2. Check Out the Materials
Before you get started, check all of the contents and verify that the materials are present and in pristine condition. One of the special things about Dominator’s hoops is that there are only five parts to keep track of:
- The main pole (with the telescoping pole already connected)
- The extension arm
- The rim
- The backboard
- The bolt plate (also called the anchor plate)
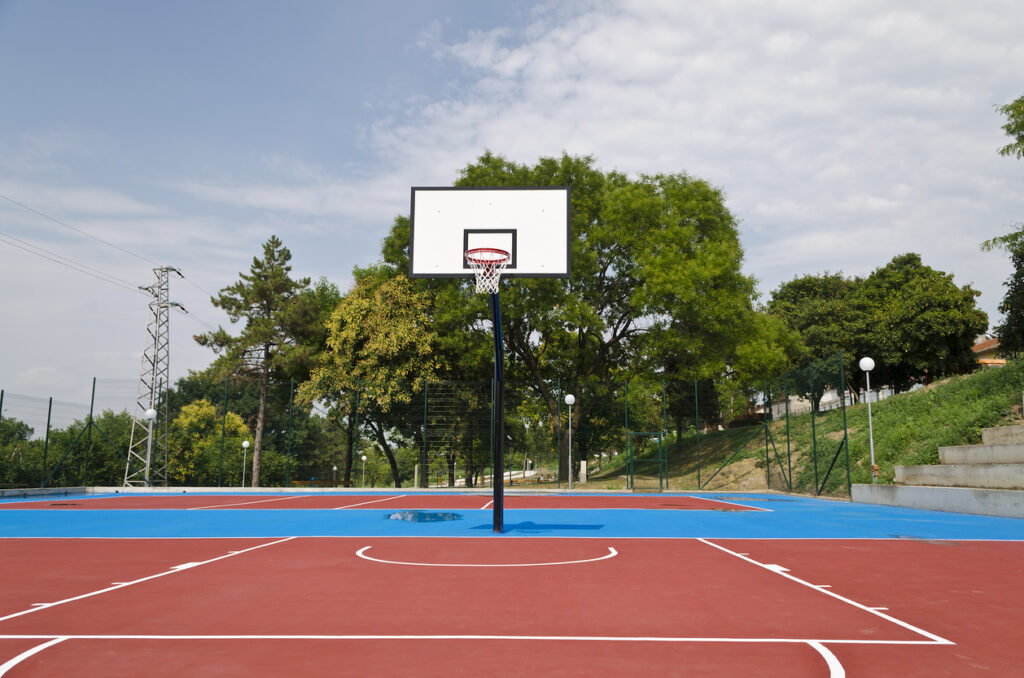
3. Choose Your Ideal Location
There’s a lot to consider in choosing the right location. Here are a few important factors to consider:
- Take into account where the sun rises and sets in relation to your ideal location so you can consider whether there’s too much shade or whether the sun will be blinding your eyes facing one way or another.
- Consider the whole layout to give yourself plenty of space to shoot, run, and dribble.
- Make sure you pick an area where you can make a flat, level, smooth surface to install your hoop.
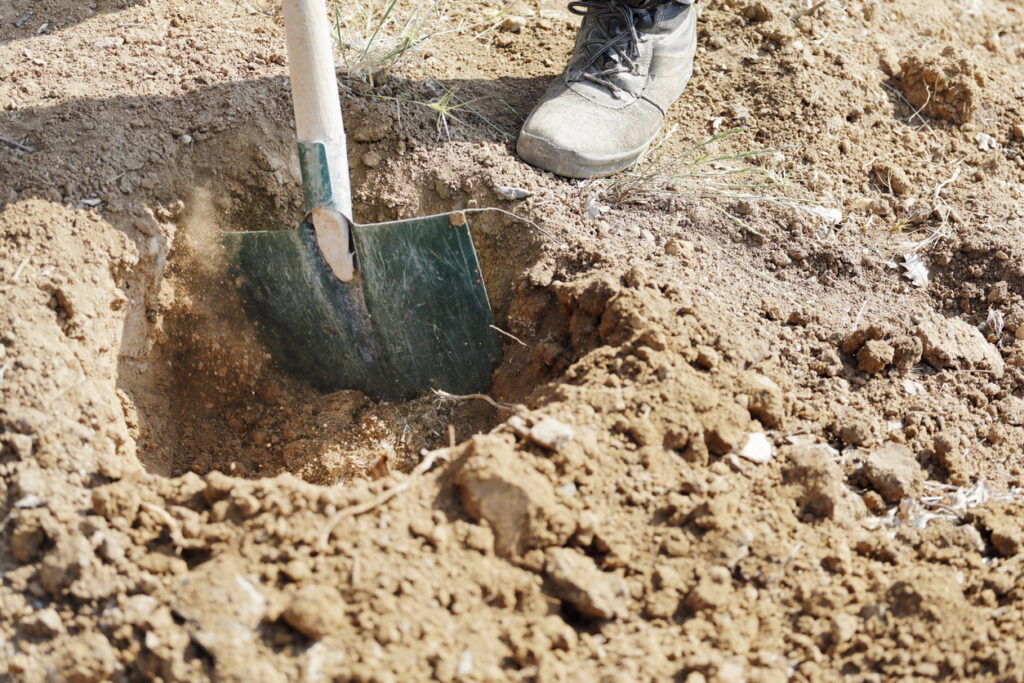
4. Dig the Hole
It’s time to dig in—literally!
To dig the right dimensions for your hoop, check the instruction manual. As a general rule for most in-ground basketball hoop installations, dig a hole at least 4 feet deep and 16 inches in diameter. For our Dominator line, we recommend digging a 2ft x 2ft square hole 3 feet deep.
You’ve got a few choices for a digging tool. All of the following will get the job done:
- A shovel
- A spade
- An auger
- A post-hole digger
5. Mix and Pour the Concrete Foundation
Remember when we mentioned how helpful it is to get a few friends to help? Now you know why!
The actual amount of concrete you will need depends on the dimensions of your hole. It is always best to get a little more than needed to be on the safe side. You will most likely need 16-20 80 lb bags of concrete.
You will mix and pour the concrete until the hole is completely filled. As you pour the concrete, you want to periodically agitate it with your shovel to ensure there aren’t any air pockets.
6. Level the Concrete Surface
Make sure that the surface is completely level. While the concrete is wet, use a trowel to perfectly smooth the concrete. Use a leveler to ensure a flat, even surface.
What If There Is Already Concrete?
If there’s already concrete in the area you want to install your hoop, the best option is to install it adjacent to the original pour. Otherwise, you’ll need a jackhammer to break through the concrete and pour yours fresh.
7. Set the Rebar and Template in Place
With your fresh concrete poured, you’re ready to set the foundation for the bolt plate.
You will use the included Dominator bolt kit, which comes with:
- 10″ x 10″ bolt pattern
- Template plate
- J-bolts
- Rebar
Bury the four pieces of rebar according to the included installation instructions, and bury the four j-bolts 10″ apart using the bolt plate as a template, leaving a thread height 3″ above the concrete surface. Use a level to adjust the plate so it lays perfectly flat.
8. Set the Bolt Plate in Place
Concrete will start to harden after the first hour, but it actually continues to set over the next several weeks. You should let the concrete set and harden for 72 hours, so it is ready to bear the weight of the main basketball hoop pole.
9. Secure the Pole
Now, you’re ready to attach the main pole of your Dominator basketball hoop to the bolt plate— also called the anchor plate.
Dominator’s hoops are uniquely engineered to make installation easier than our competitors. All you need to do is attach the base of the main pole to the anchor plates. We created a hinge on the front of the base plate so you can rest the main pole on the ground while leveling and tightening the pole.
Set the main pole’s base plate on top of the anchor bolts and tighten the two in front. You can keep the main pole lowered for the following step as well.
Use a leveler to make sure the base plate is completely flat. Each bolt has a level adjustment, so you can raise or lower each bolt until leveling is perfect.
10. Connect the Arm
Before you raise the main pole into place, connect the hoop arm to the telescoping pole, which is already connected to the main pole.
11. Mount the Backboard
Connect the backboard using the included bolts. Make sure the backboard is level and tightened.
12. Raise the Pole
With the arm and backboard firmly attached, you’re ready to raise the main pole. It’s time to grab your friends again for this step. And, since your hoop will be ready to use in no time, they might as well be basketball fans like you!
Tighten the rear two bolts.
Use a leveler to make sure the pole is perfectly straight. Each of the four base plate bolts has a level adjuster, so you can adjust the height to make it absolutely level.
13. Remove the Safety Bolt
With the base of the main pole now securely tightened and leveled, remove the safety bolt from the base of the main pole.
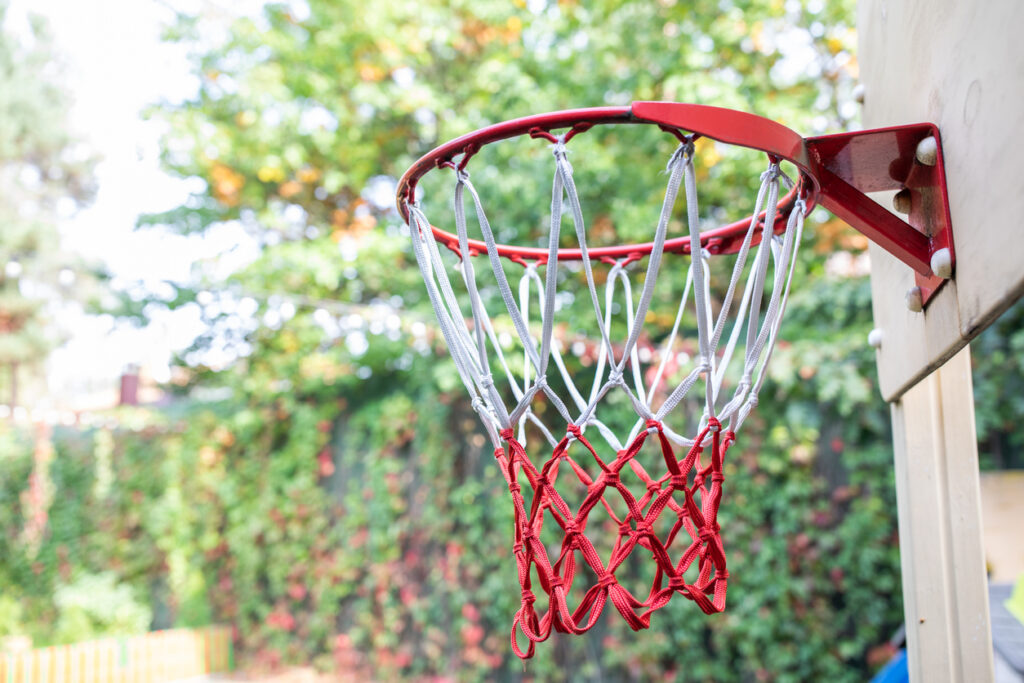
14. Attach the Rim and Net
Attach the rim and the net by bolting them to the backboard, making sure they are secure.
And that’s it: Time to shoot some hoops!
15. Incorporate Optional Additions
Now, you’ve got the best basketball hoop ready to go, but if you’re looking for any additional accessories, consider grabbing pole and backboard padding or perhaps a basketball holder. And, if you feel limited by not being able to see at night, professional lighting is a game changer.
Explore Dominator’s In-Ground Basketball Hoops
Dominator offers a great range of basketball hoop options. All our hoops are designed with the highest quality parts and are engineered for the easiest set-up possible. There are fewer parts and fewer steps to follow for installation.
If you want to take things to the next level, check out our DIY guide to build your backyard basketball court with Dominator’s variety of basketball hoops.